Ice Cream Truck Instructions
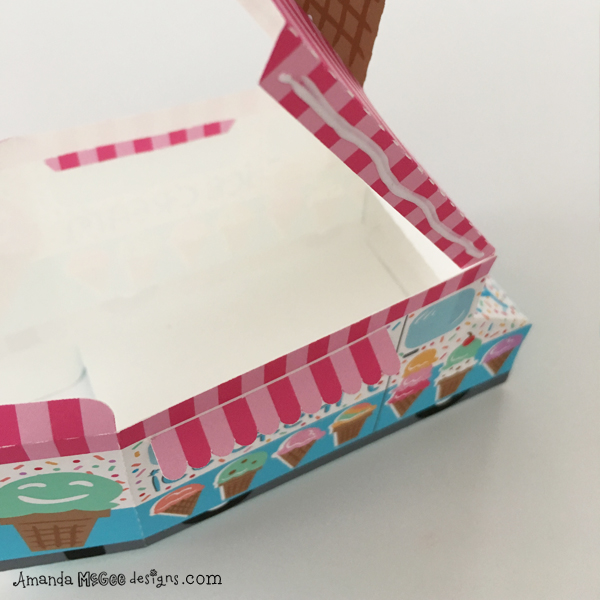
Create your own miniature ice cream truck! It's the perfect size for a gift card or a small gift or treats. Finished size is approximately 3.5" long, 2.25" wide by 3" tall.
Step 1
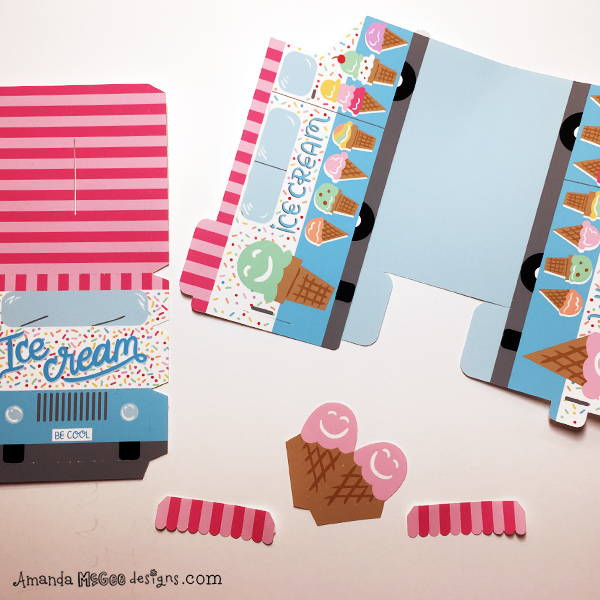
Begin by printing and cutting the ice cream truck pieces. I've used the print and cut file available (soon) from the Silhouette Online store and printed it on Heavyweight Matte Epson paper on my Epson printer and used my Silhouette Cameo machine to cut the design file.
STEP 2
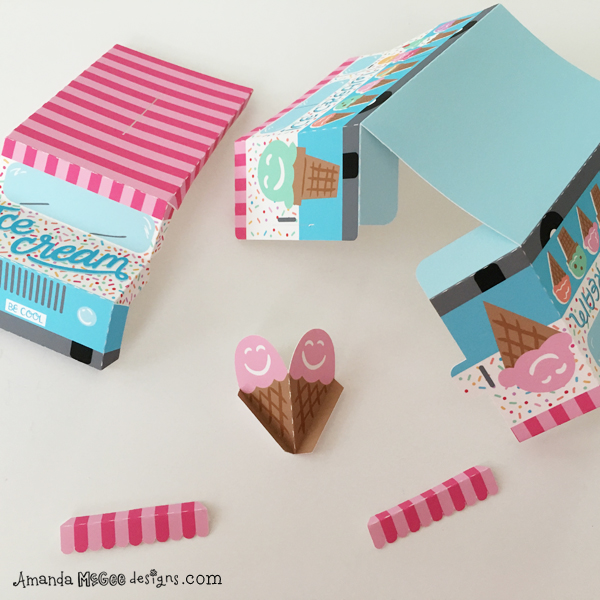
Fold each section along the perforated score lines as shown.
STEP 3
Glue the tab on the front section and adhere to the inside of the bottom section.
STEP 4
Glue each of the tabs on the front section.
STEP 5
Adhere the front tabs to the side panel. Repeat for the other side. Leave the top tabs unglued for now.
STEP 6
Glue the reverse side and fold the ice cream cone together to adhere. Keep the tabs unglued and folded out.
STEP 7
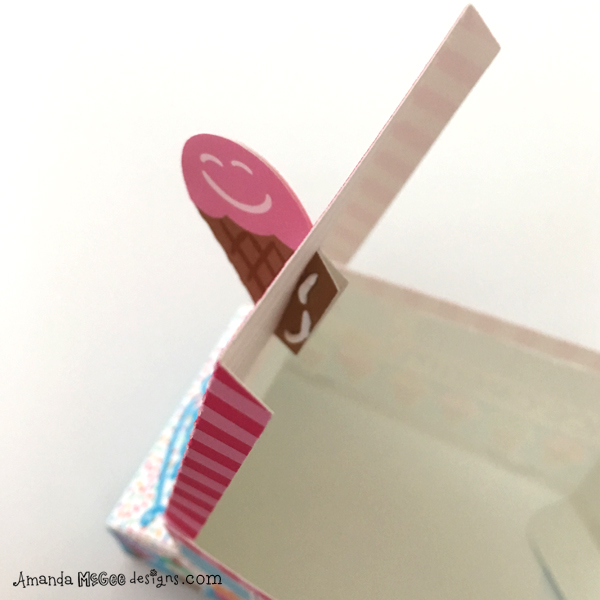
Insert the tabs into the slot on top of the truck. Glue the tabs.
STEP 8
Fold tabs up to the inside of the top of the truck to adhere the ice cream cone to the top of the truck.
STEP 9
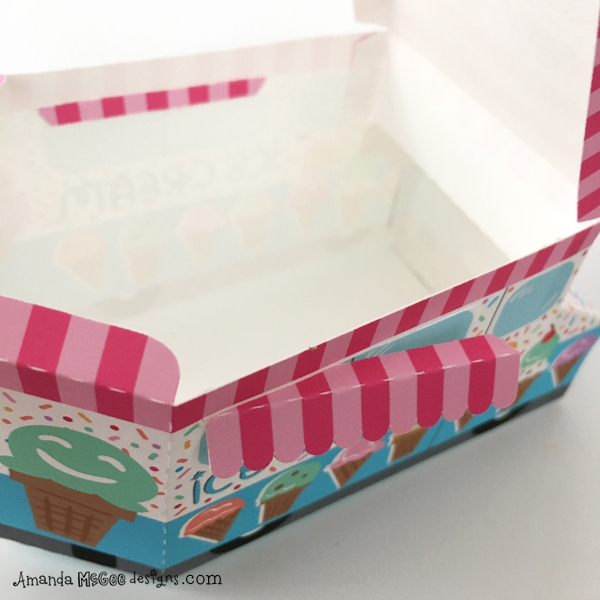
Slide the awning tabs into the slot above the side windows. Glue and adhere
STEP 10
Glue the tabs on the top of the truck and adhere to the side of the truck.
STEP 11
Fold in the tabs to shut the doors and slide the tab into the slot to close the box.
completed project
This cute mini ice cream truck is perfect for holding a gift card to give as a sweet treat. It would also make a fun party favor box filled with treats for an ice cream social or birthday party.
Enjoy!


