3D Star Lantern Instructions
Create your own 3D Star Lantern, perfect for holiday decorating! This digital die cut file is available in the Silhouette America Online Store.
This digital die cut template makes it fun to create your own 3D Star Lantern. This is an advanced project, and will take some experience and patience (especially with glue drying time!) Finished size is approximately 14 inches. The opening and insert will fit a small battery operated tealight. The opening should also accommodate a small LED battery powered string of lights. You will need the following supplies to create this project:
Digital Die cutting machine (I’ve used my Silhouette Cameo)
3 sheets of 12×12 heavyweight cardstock paper (I’ve used Neenah Creative Collection Premium Cardstock)
3 sheets of letter size vellum
Adhesive
Battery Operated Tealight (0r other LED lights)
String (for closure and hanging)
Warning: the assembly and gluing of the pieces will take some patience! A heavy dose of patience. Wait for the glue to dry between steps!! But if I can manage with my thick fingers and impatient crafting syndrome, so can you! 😉
Step 1
Begin by cutting template pieces from desired cardstock and vellum.
STEP 2
Fold along perforated edges as shown. Glue around star cut outs on the inside.
STEP 3
Place vellum onto glue. Add glue to side tab.
STEP 4
Fold tab to inside and allow glue to dry.
STEP 5
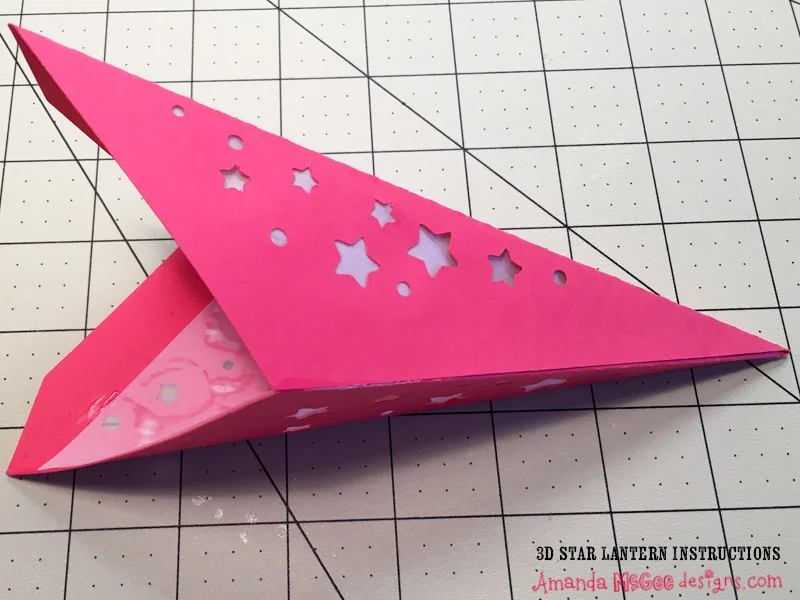
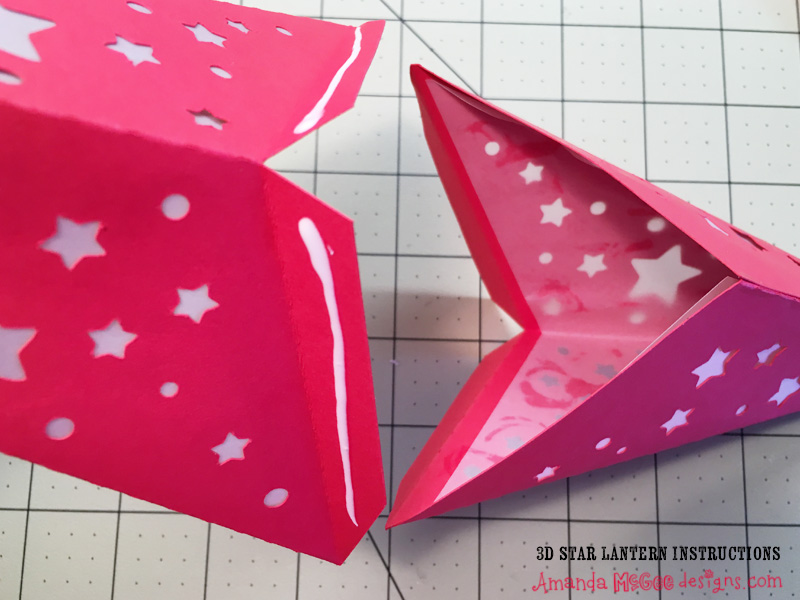
Add glue to flaps. Carefully insert one point of the star into the other point and adhere tabs. Allow glue to dry.
STEP 6
The two points should now look like the bottom portion of the star as pictured.
STEP 7
Repeat the process to attach the next star point.
STEP 8
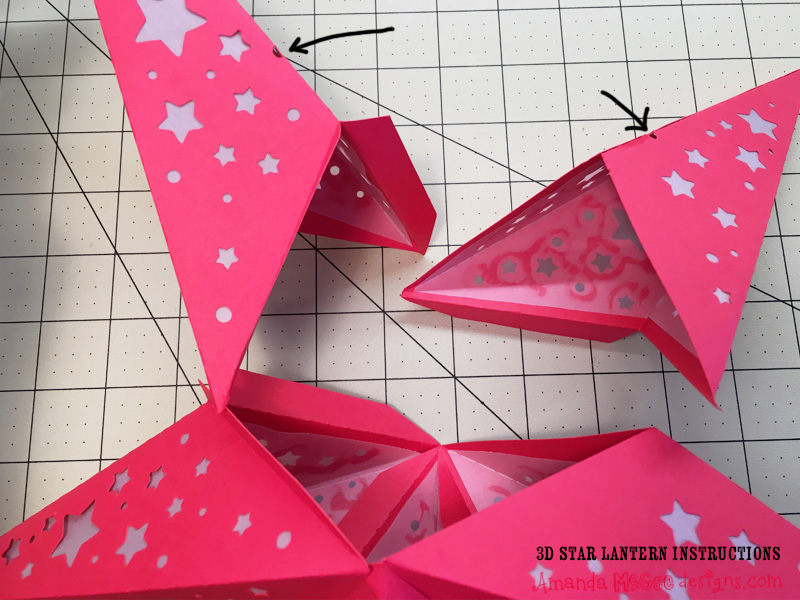
For the last two points (the ones with the extra holes) make sure the holes are facing each other as pictured.
STEP 9
Attach one point as shown.
STEP 10
Attach the other point, leaving the flaps open.
STEP 11
Fold tea light holder and glue around the hole.
STEP 12
Insert tea light and adhere flaps.
STEP 13
Feed string into one hole, through the hole in the tea light holder and out the other hole as shown.
STEP 14
Gently pull the strings together to close the lantern. Tie to shut. You can also untie to turn off the battery operated tea light.
STEP 15
Hang the lantern for a festive party decor.
STEP 16
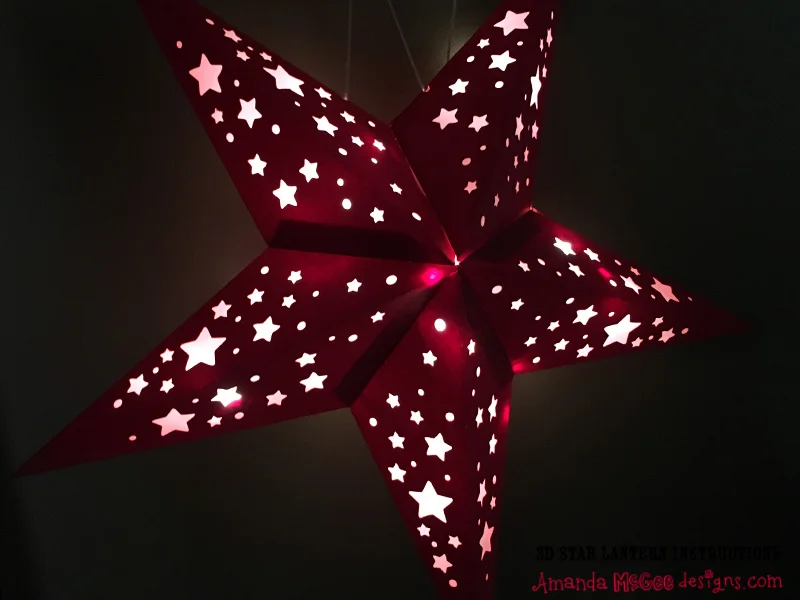
This is what the lantern looks lit with a small LED battery light strand.
STEP 17
You can also use these instructions to create a 3D star, also available in the Silhouette Online Store.
STEP 18
You can also use these instructions to create the 3D stars and swirls lantern, which would be a great decoration for New Year’s Eve, or any other festive celebration!
Enjoy!
Happy Crafting!
😉 Amanda


