3d robot box Instructions
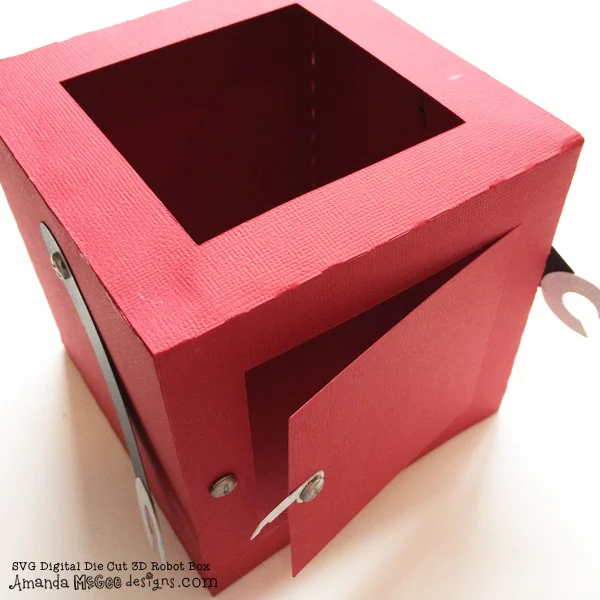
Create your own 3D Robot box from paper cardstock, perfect for holding valentine cards or a small gift, or embellish as a fun valentine's day decor!
This digital die cut file is available for sale in the Silhouette America Online Store.
Supplies
This digital die cut template makes it easy to create your own robot shape paper box, perfect for gobbling up Valentine cards, holding small gifts or treats. The larger bottom section will need to be cut on 12×12 paper. Finished project is approximately 11.5″ tall by 5.5″ wide. You will need the following supplies to create this project:
Cardstock paper (I’ve used American Craft’s Valentine, Michael’s Recollections Shimmer and DCWV Glitzy Glitter)
Glue
Brads (I think I found the screw head brads at Joann Etc. but I’m not positive, I’ve had them for awhile!)
Begin by cutting the template pieces from desired papers. I find that the accent pieces look really great in shimmer or glittery finish paper. You might want to cut additional hearts for accents, and duplicate hand shapes if your paper is one sided.
Step 1
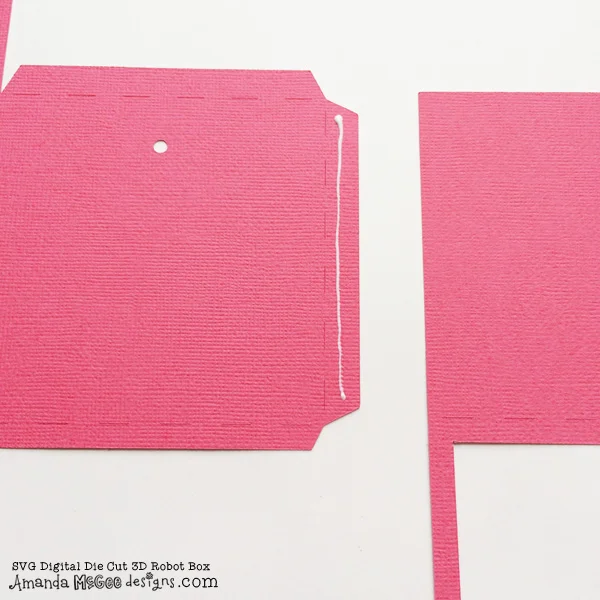
Add glue to side tab of bottom box section and adhere to side of the other box section.
STEP 2
Fold and glue the other side tab.
STEP 3
Adhere to the opposite side of the bottom box. Allow glue to dry. Fold long perforated lines to create the sides of the box shape.
STEP 4
Fold in the tabs and glue. Fold up the bottom section to create the base. Allow glue to dry.
STEP 5
Glue end of arm section and attach the hand shape. You might want to repeat for the other side if your paper is one sided (as is the case here!)
STEP 6
Attach arm to side of the box with a brad. Repeat for the other arm.
STEP 7
Attach a brad to the front of the box.
STEP 8
Attach door latch with a brad to the front of the box.
STEP 9
Fold in and glue top tabs.
STEP 10
Press down the top flap to adhere. Allow glue to dry.
STEP 11
Add glue to the leg section and attach the foot.
STEP 12
Decide where you would like the attach the leg to the side of the box. Align to the center or align to the back of the box.
STEP 13
Add glue to the back of the leg section.
STEP 14
Attach the leg to the side of the box where desired.
STEP 15
Add glue to the teeth outline shape. Adhere to the teeth base.
STEP 16
Adhere glue to the eye pieces and assemble as shown.
STEP 16
Add glue to the small pixel heart highlight piece and adhere to the pixel heart as shown.
STEP 17
Add glue to the top box side tab. Adhere to the other section of the top box.
STEP 18
Fold in the other side tab and glue.
STEP 19
Adhere the tab. Fold perforated lines to create the box sides.
STEP 20
Fold up the bottom tabs and glue. Fold up and adhere to create the base of the top box.
STEP 21
Fold in the top tabs and fold the top flap. At this point, you have the option of NOT GLUING the top tabs. This will allow you to use the robot box as a gift box, and the recipient can open the top of the robot’s head.
STEP 22
If you choose, you can glue the top tabs and adhere to create the top of the robot head.
STEP 23
Attach the antennae to the side of the robot head with a brad.
STEP 24
Attach the other antennae to the opposite side of the box.
STEP 25
Fold in the side tab of the zig zag section and attach to the antennae with a brad as shown.
STEP 26
Attach the zig zag section to the other antennae with a brad as shown.
STEP 27
By using brads, this will allow the antennae to fold down to enable you to open the top of the box (if you haven’t glued the top closed.)
STEP 28
Add glue to the top of one section of teeth. Adhere to the inside of the mouth.
STEP 29
Add glue along the edge of the bottom section of teeth and attach to the inside of the mouth. If you are using this as a gift box and do not want to have a gap opening in the mouth, you can adjust the position of the teeth in the mouth to close the gap.
STEP 30
If you are using this box as a Valentine card mailbox, leave a gap between the teeth.
STEP 31
Fold and glue the bottom tabs.
STEP 32
Attach the head section to the bottom box. You will notice that the head section has a bottom opening so the cards will drop into the bottom portion. You can omit the square cut so there is no opening between the boxes if you desire.
STEP 33
To finish the box, glue the pixel heart to the front door panel.
STEP 34
If you wish, cut additional pixel hearts for the robot to gobble up!
PROJECT COMPLETE!
And that’s how you make this super cute Valentine gobbling robot box!
Enjoy, happy crafting and Happy Valentine’s Day!
Amanda


