3D Poinsettia Instructions
Available for sale online in the Silhouette Design Store
This cuttable template makes it easy to create your own paper poinsettia, perfect for holiday decor. You will need the following supplies to create this project:
Cardstock paper (I’ve used Michael’s Recollections and American Craft’s Christmas Foil)
Glue
Stylus or craft stick
Tweezers
Step 1
Cut all pieces from cardstock. Cut 3 large petals, 3 medium, and one center in red. Cut 3 large petals and the small center in green for leaves. Cut two centers in gold or yellow.
STEP 2
To create dimension, curve all the leaves and petal shapes with a craft stick or stylus.
STEP 3
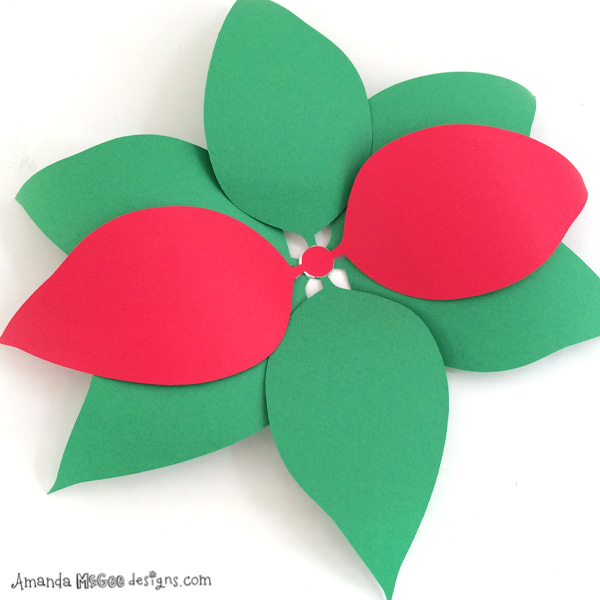
Add glue to the center of the first set of leaves.
STEP 4
Offset and layer the second set of leaves.
STEP 5
Glue and offset the third set of leaves.
STEP 6
Glue and offset layer the larger red petals.
STEP 7
Press the layers together with a craft stick as you go to adhere the layers together.
STEP 8
Glue and offset layer the medium petals.
STEP 9
Add glue to the center and place the small petals on top. Allow glue to dry.
STEP 10
Glue the center leaf petals and adhere to the back side. Allow glue to dry.
STEP 11
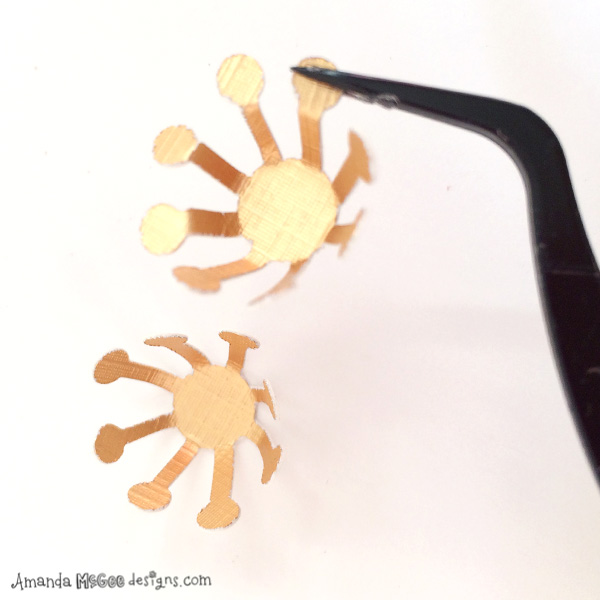
Fold the center petals up and then bend the ends outward.
STEP 12
Add glue to the middle of one center. Place the second center on top of the other.
STEP 13
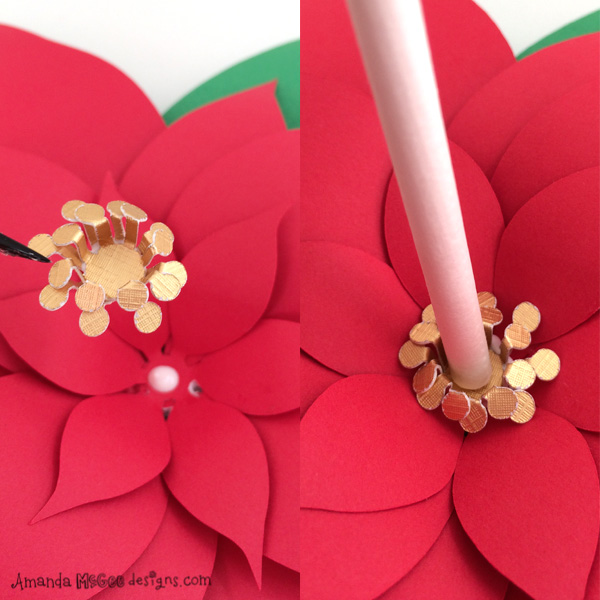
Add glue to the middle of the flower and place the center. Press down with the craft stick to adhere to the center of the flower.
STEP 14
Slightly bend the center as desired. Allow glue to dry.
STEP 15
The 3D Poinsettia is complete and ready to adorn a gift package, a wreath or glue a craft stick to the back to create a paper floral arrangement.
Enjoy your holiday crafting!
Amanda


