3D Paper Play Food Milk Carton Instructions
Cut file is available for sale in the Silhouette Online Design Store HERE
One of my children’s favorite activities when they were growing up was to “play food” and I designed some print and cut paper food inspired by them! I hope you enjoy, and as a disclaimer please use with adult supervision.
Begin by printing the design file in the Silhouette Studio software. Just a friendly reminder to remember to print the registration marks! ;) Proceed to cut the design file with your paper settings. I use Epson Premium matte paper and the plain cardstock settings work well for me.
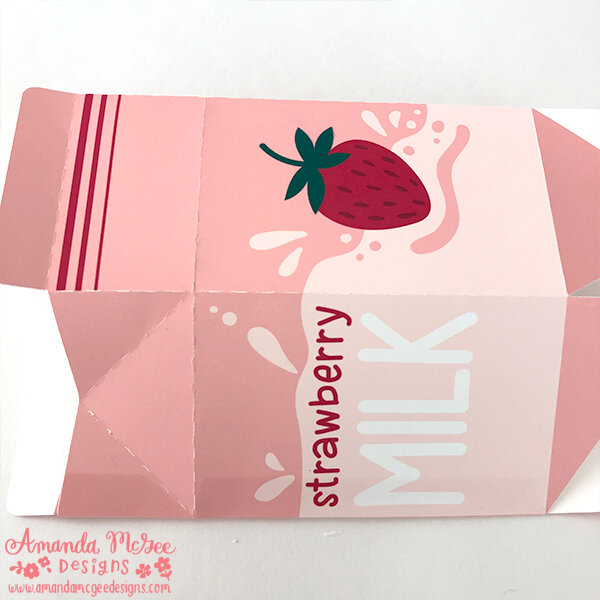
Remove the design from the cutting mat. Fold the perforations as shown above.
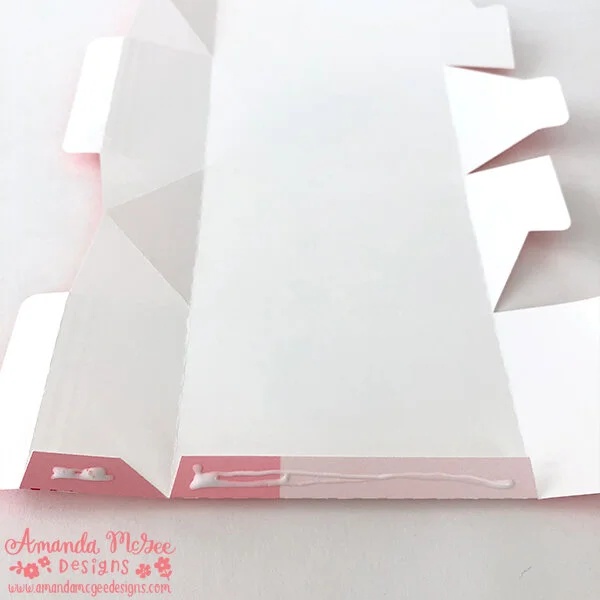
Fold up the tabs on the end and add glue as shown above.
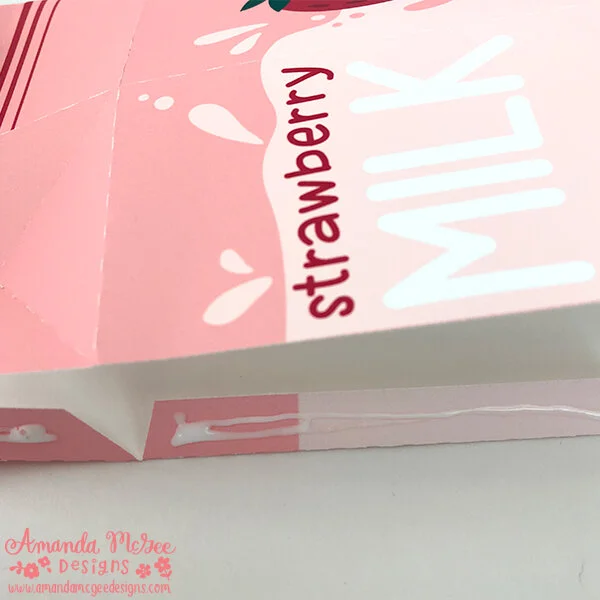
Fold over the other side of the milk carton and press down onto the glued tabs to adhere.
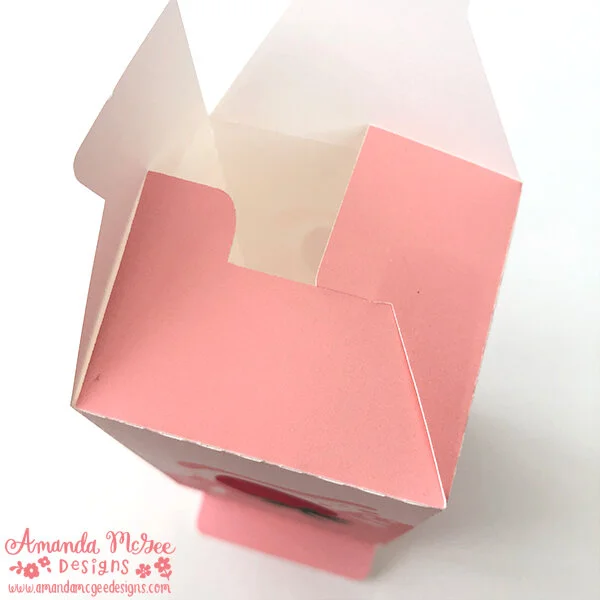
To fold up the bottom, fold in the notched side first (as shown above.)
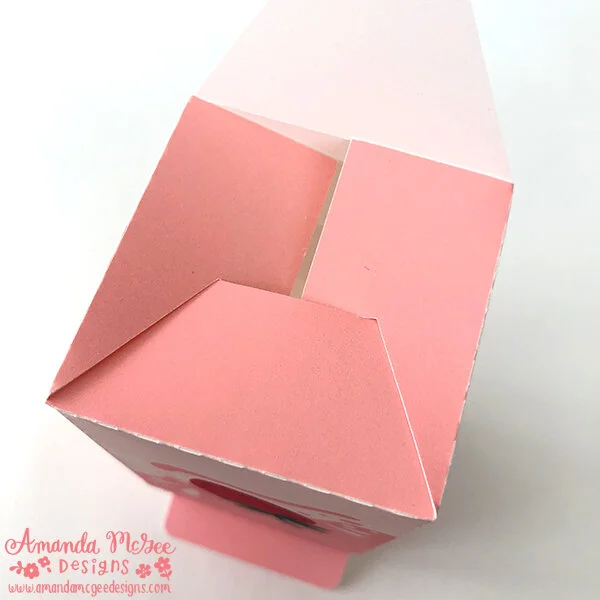
Next, fold in one of the side tabs and tuck under the notch as shown above.
Tuck in the other side tab.
Tuck in the tab to close.
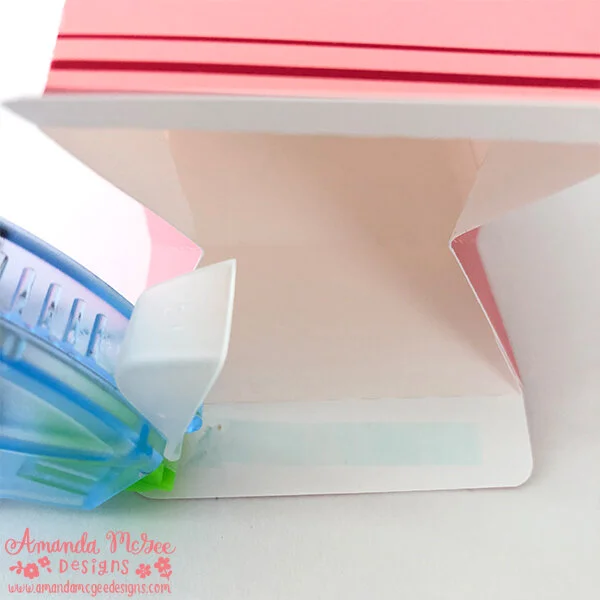
Add adhesive to the top flap. I recommend temporary adhesive if you want to open it back up and flatten for storage. However, I found that it does not stay closed. If you want to keep it permanently assembled, go ahead and use glue instead.
Pinch in the sides along the perforations as shown.
Press the top flaps together to close. The carton assembly is complete!
You can use these assembly instructions for the other play food cartons, also available in the Silhouette Design store online.
Enjoy and have fun!
:) Amanda
